Unregistered users may browse the website, but in order to participate in the forums and view select pages (such as "Club Contacts" and "Classified Ads") a user account is required. Click HERE to email the webmaster and request a free account. The National DeSoto Club uses real names rather than pseudonyms. Notify the webmaster of your user name preference (Johnathon Doe vs. John Doe, etc.), preferred email address, and password request.
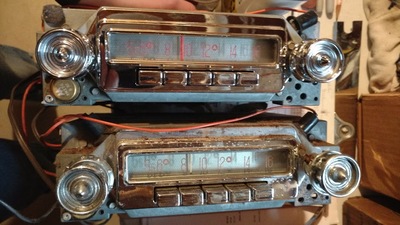
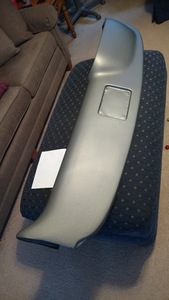
What started as acquiring a new dash pad (RD Autoline in Sweden) and rebuilding/replacing the radio in my '59 Fireflite (local contact in the north Chicago area) has quickly morphed into a full overhaul of the dashboard and more, hence the inclusion of "saga" in the description. I figured I would document this for anyone else doing a similar project or simply for those of you that care to see what I am doing, what problems I overcome, etc.
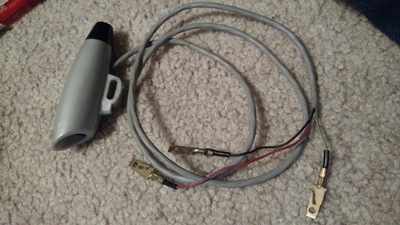
The background on this car is that it was a low-mileage, garaged, original car until 1986 when it was purchased by the guy before me. He owned it for 30 years and it sat out every day year-round on the driveway unless it was at the shop getting something repaired, which was very seldom. The sun and moisture in northern Illinois took its toll on the interior, baking every fabric and pitting the diecast to the point where the dash pad was 99% gone, the Autotronic eye for the auto-dimming headlights is deteriorating, and the seat foam and cloth is disintegrating. When I got the car in 2016, I concentrated first on mechanical items as it wasn't running well and clanked as it went down the road. Fast forward and I have been through just about every system on the car, including a carb rebuild, fuel pump rebuild, fuel filter replacement, full tune-up, new plug wires, new correct battery cables, new hoses, new fluids, front end rebuild with fresh rubber, new front shocks, gasket replacements, trans mount replacement, and now soon also a steering box rebuild as that is leaking badly. Following the steering box rebuild, an alignment will finally be done and new tires mounted. The car should be road-trip ready by early this summer.
With mechanical items getting wrapped up, I am finally starting to turn my attention to the interior items. I have fabrics trickling in from SMS, but those won't go in until I seal up the car as it leaks water pretty badly right now. I figured a good winter project would be to redo the whole dash and complete one section of the interior by doing so. I have a few other issues like a clock that didn't work and a rheostat for the dash lights that only had partial range that I will address at the same time. It's also a good time to pull the heater valve for a rebuild that I discovered leaking last year.
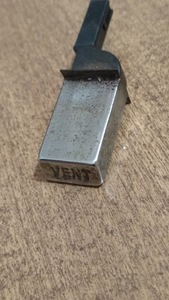
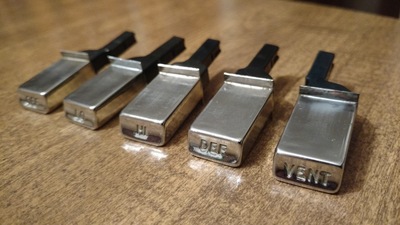
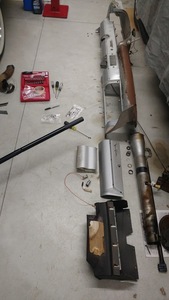
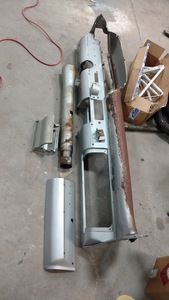
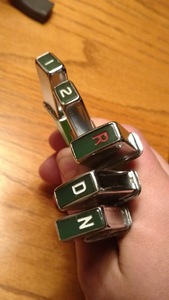
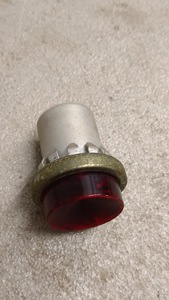
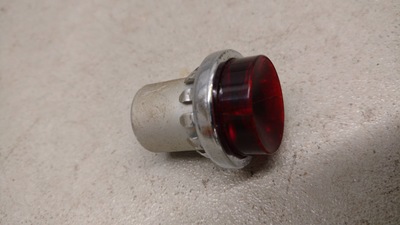
Catching up to this week, I finally got the dash all out and it's mostly disassembled. I am trying to get the chrome in ASAP as the place I want to use (The Chrome Shop, Menasha, WI) is backed up to June for most orders, though they may get it done sooner since it's a smaller order. Either way, that will be one of the longer lead time items that I am getting moving on. I am also trying to get the steering box out for rebuild as well and attempting to procure a few parts to upgrade what I have. Next will be the smaller stuff like gauge and switch restorations. Tonight I cleaned up all the heater buttons and a before and after of those is shown below. Those won't need to be rechromed.
Hey David....congrats on all the successes thus far! I hear ya on that interior fabric trickling in from SMS. They've had my $ since at least June last year. Curious about the local antique car radio repair contact. Were you pleased with the service and cost? I've had the Electro Touch-Tuner radio out of my '55 so many times I can probably do it blindfolded, and I sometime wonder if the guy who supposedly repaired it the past few times wasn't blindfolded himself. Appreciate your thoughts on your guy.
Mark
@markkubancik thanks for the comments! I too have had money with SMS since around June last year when they had the COVID sale. I still only have half my order, but I did expect that it would be a long time from past experiences with them. I planned far ahead on the interior project and as long as the quality is good, I can wait the time.
The guy that did my radio, Joe Esdale, was a friend of the guy I bought my '59 from. When I went through my '56 radio with George (the guy I bought my '59 from), we ended up needing the vibrator unit replaced or rebuilt. Joe was able to fix mine and he is also an old car guy with a few oddities, like a '56 Continental and a Diamond T pick-up truck. Anyhow, I took my "new" used ebay radio for the '59 to him and got the tour of his home, which included a lot of vintage radios. He used to be in the sound business and you can tell it's definitely a passion for him. He mentioned he has done a Highway Hi Fi before and when I picked up my radio, he had a Chrysler Airflow radio there for service work. He does radio repairs as a side business in his retirement and he definitely seemed to know what he was doing and talking about. His business card says '30's through '70's are his specialty.
Mine cost me $100 cash to clean, partially rewire, and I think replace a capacitor, plus a new dash speaker was included in that price. He did mention that I was getting a "family and friends" deal because I knew George well and we had met a couple times previously.
If you're interested in contacting him in the future for any work, his phone number is 847-831-2544 and email is ezzy4112@yahoo.com
@davidfrank Thanks for the info on the radio repair man. I'll reach out to him.
@markkubancik no problem. You can mention my name when you call him.
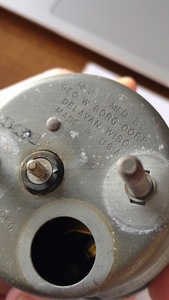
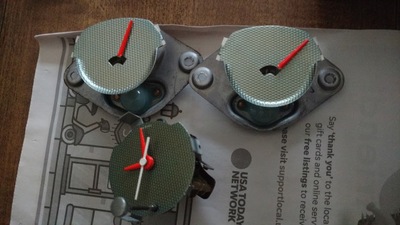
Last night I spent about 5 hours further disassembling stuff, including the clock and gauges. The clock was a bit of a pain because the set knob wouldn't unscrew and I wasn't 100% sure that was how it came apart. I was able to confirm that was correct, soaked it in Kroil, and later it came apart. Basically I grabbed the back of the stem (behind the large chrome ring) with a needle nose and on the set knob, I wrapped a rag and used another pliers to get it to break loose. Fun fact - the George W Borg brand of clock was made right down the road here in Delavan, WI as shown on the backside of the clock!
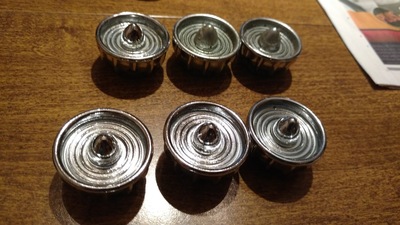
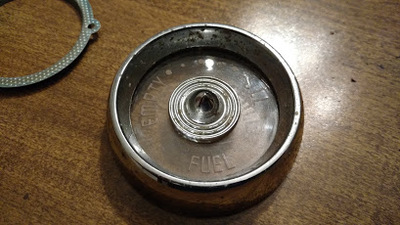
I also wanted to separate the center decorative chrome "button" from one of the gauge faces to replace it with a nicer one, but that was very tedious and slow because it's a one-way retainer ring that has to come off. That wasn't a problem with the outer gauge rings, but on the center "button", it's only supported by the plastic face and thus very, very easy to crack. Over an hour later of working at it with a sewing needle, I finally got it apart successfully. I also cleaned up my best switch knobs, gauge center "buttons", and the heater cover plate, which will be going back on the car as-is since they are very nice, along with the previously cleaned heater control buttons.
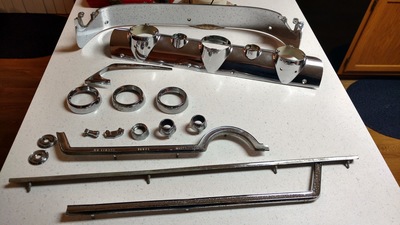
Today I dropped off the balance of the dash chrome at "The Chrome Shop" in Menasha, Wisconsin. They are supposed to be about the best in the state and have done a number of cars I know, including my uncle's '58, a local '56 Imperial, and many cars for Bob Schmidt (recall we toured his shop in Branson in 2018 as part of the convention). The lead time is out to around May/June, but that may be improved on (I hope) since I have a small batch of stuff. I do have to procure a new glovebox trim because mine has pull indentations from over-torqueing the trim at some point in the car's past life. What I dropped off is the batch of parts on the counter in the photo below.
Next steps will be looking at gauge and gauge face restoration as long as it's cold. As soon as the temperatures climb out of single-digit highs here, I plan to finish stripping the last couple items off the dash (mirror, Autronic eye, glovebox liner, Fireflite emblem) and also get the steering column and steering box pulled for rebuild. I also need to drain down the coolant a bit and pull the leaking heater control valve for rebuild as well while that's easily accessible.
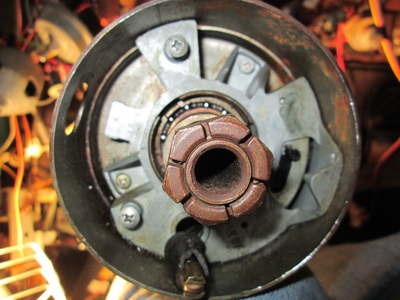
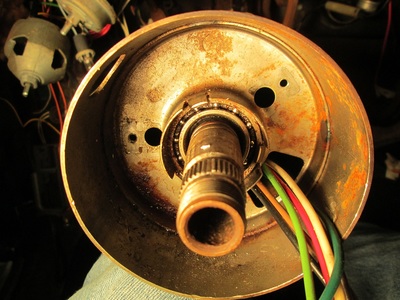
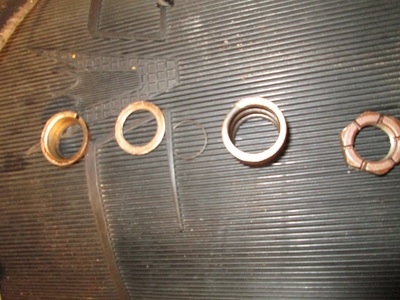
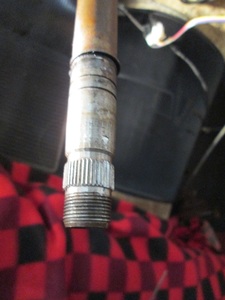
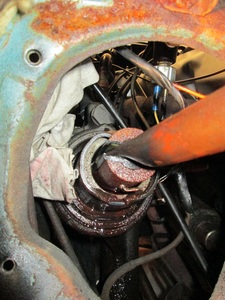
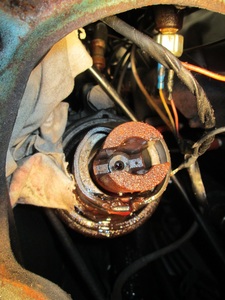
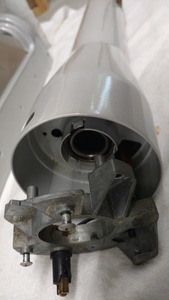
I took a short break while the temperatures were cold (well below freezing), but today hit 40 so I worked on the car again. I got a tip on the removal of the steering column since I had followed the factory shop manual without success. The manual failed to mention you have to remove the turn signal switch to access a snap ring and a few other small parts that had to be removed before the column housing could slide up and expose the pin that holds the shaft to the steering box. Once I knew those extra steps, it was pretty easy. Out came the column and it was just a cotter pin. Next will be to separate the pitman arm, mark the shims, and remove the box. I already have the hoses disconnected.
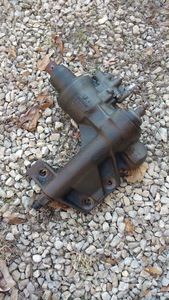
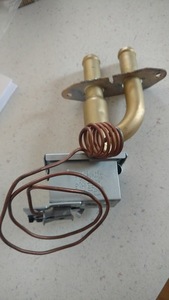
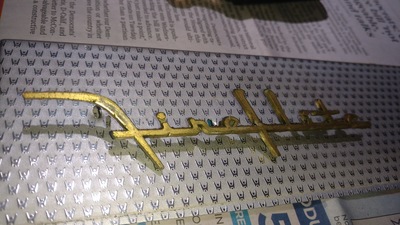
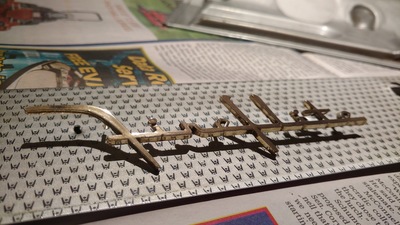
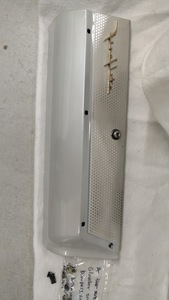
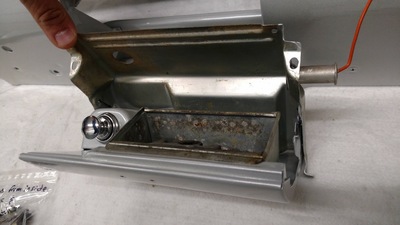
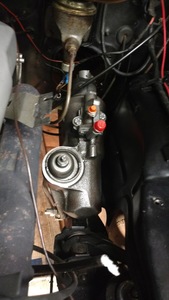
In the past week, I took advantage of some warm weather here. I got the power steering box disconnected from the steering linkage and removed from the car so it can be sent out to rebuild. I also pulled the heater control valve and sent that in to be rebuilt. 6 hours after arriving for rebuild, it was back in the mail all finished! That showed up yesterday and is ready to be reinstalled. I also removed the interior fan box and the pad behind it. I have two small spots on the firewall around openings that have rust that need to be repaired prior to reinstalling the dash. Speaking of the dash, I finished stripping everything down so the painted parts are ready for stripping and repainting. When I stripped the dash and removed the glovebox "Fireflite" emblem, I decided to clean it up right away. After a lot of time and tedious work, it looks almost like new! Below is a little before-and-after of that.
@rogerhubbs believe it or not, I just used my fingernail to scrape. It was very slow and tedious, but I found it was hard enough to get the coating of corrosion off without damaging the finish. Maybe a plastic scraper (like for applying decals) would have the same effect and be a little easier. I tried Dawn dish soap and water first, but it wasn't strong enough. Anything stronger and I was afraid it would damage the gold finish.
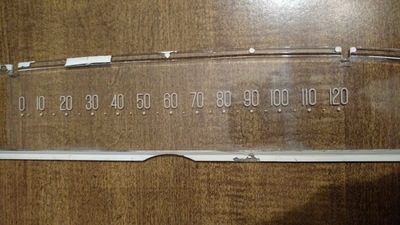
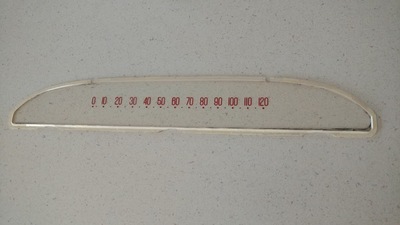
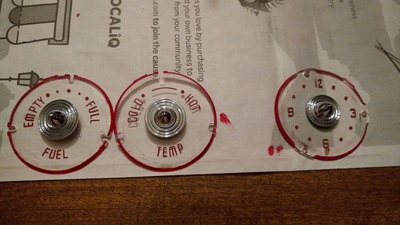
I have been spending time restoring the gauge and gauge face colors. The needles were easy enough, using some Testor's model paint and a small brush. The gauge and speedometer faces were more difficult. I ended up using two size sewing needles to scrape out all the old paint and then the "average" sized sewing needle to apply Testor's flat cherry red paint. I did a few markings at a time and then wiped off the excess paint. The speedometer took two coats on the markings to get the thickness even (since the dash lights will shine through the markings). It was very time consuming and tedious, but it looks so much better restored back to red instead of the nearly white that it was from all the years of sun exposure!
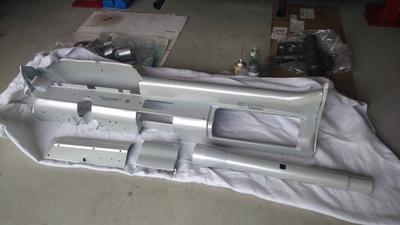
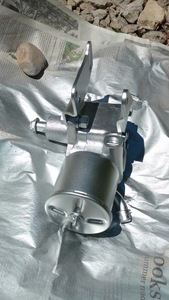
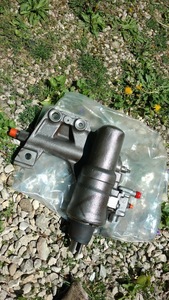
I also have the dash and steering column components out for powder coating and the steering pump and steering box were both sent off to Power Brake X-Change in Pittsburgh for rebuild. That stuff should be back anytime not and then reassembly can start. I will mostly just be waiting on the chrome at that po
int.
I’m assuming the insignias are plated (be nice if it weren’t), so your caution was prudent. I’m wondering if vinegar might be an alternative as a non-abrasive approach?
Things are starting to come together! I am only waiting on the chrome to be finished at this point - everything else is on me. Since my last update, I repainted my pushbutton letters, got my dash components back from powder coating and started reassembly, cleaned up the crusty parking brake bezel, test-fit the dash pad (I need to repaint it and trim it), installed the power steering box and steering arm, and installed the heater control valve, fan box, and heater hoses. I also tested the back-up light switch on the side of the pushbutton cluster since my back-up lights don't work. The cluster switch is working fine, so it probably is the transmission switch that I will look into once the car is back together. I have at least eliminated one possible suspect while everything is apart and accessible. I need to get to the store and get a bunch of paints, screws, and other supplies to finish a few small items, such as repainting the interior lower windshield trim, the mirror, the speaker grille, etc. I also need to get electronics cleaner for the panel light rheostat to see if I can get full range of functionality from the current ~75% range. If I can get everything I need, most of that stuff should be done in the next week or two.
David, I have a question. Sondra and I are looking for a 1959 Desoto 4 door hardtop. One thing she is insisting on is Air Conditioning. We are only going to look at cars that are Very Good to Concourse.
I need to spend the next 2 years rebuilding out daily driver of the last 20 years the 1947 Desoto Suburban.
At one time I had 2 fully restored (I did it myself) 1964 Chrysler 300-K's. A coupe and a convertible. So I have a good feel for the dash on these cars.
What I wanted to ask, is what kind of mess would I get into if I purchased a '59 and had to swap out the necessary parts to put in factory AC? I am aware of the engine side, the big evaporator unit is a semi-direct swap on that side. It is the under dash changes that worry me.
Do you think it could be done without pulling the entire dash?
Thanks for your thoughts. James
Love it David, I'll be ripping my dash apart as well come October when I get to pick up my Firedome. Great to see the details in advance, just gives me an idea of what to expect
1959 DeSoto Firedome Coupe
Pearl White/Bimini Coral

